So, you're finally ready to say goodbye to those popcorn ceilings. Good for you! It's a common project here in Boise, and it makes a huge difference in how a room feels. But before you jump in, it helps to know what you're getting into. I've seen a lot of these jobs over the years, and a little planning goes a long way.
What's the Timeline for Popcorn Ceiling Removal?
This isn't a one-day job, especially if you want it done right. The actual removal itself can be quick, but that's just the start. Here's a rough breakdown:
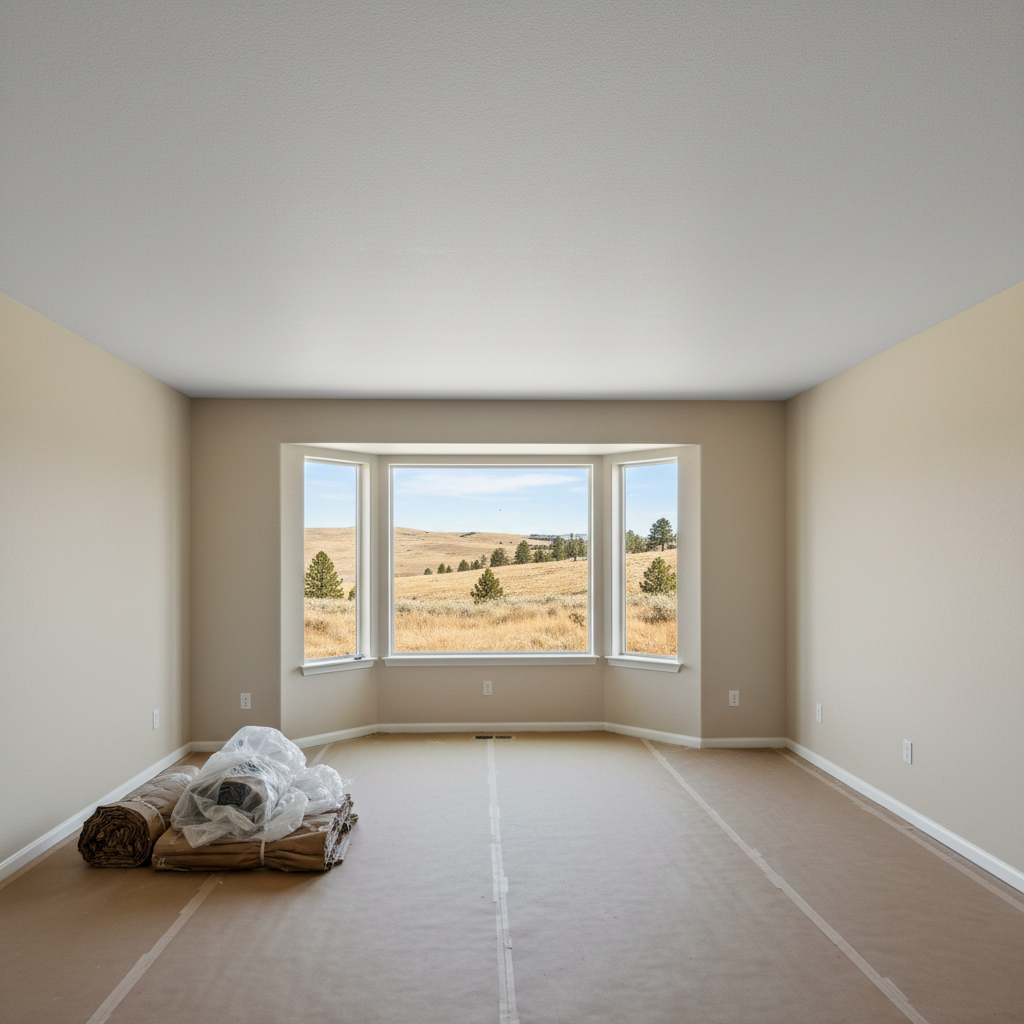
- Prep Work (1-2 days): This part is crucial. Moving furniture, covering everything, taping off walls, protecting floors. It takes time, and you don't want to rush it.
- Removal (1-3 days): Depends on the size of the area and whether it's painted. Painted popcorn is definitely tougher to get off.
- Skim Coating/Repair (2-4 days): Once the texture is gone, the ceiling underneath is rarely perfect. It needs smoothing out. This means applying thin layers of joint compound, letting them dry, and then sanding. This is where the real skill comes in, honestly.
- Priming (1 day): Essential for a uniform finish and good paint adhesion.
- Painting (1-2 days): Usually two coats of ceiling paint.
- Cleanup & Move-back (1 day): Getting your home back in order.
So, for an average-sized home, you're looking at anywhere from 7 to 14 days, start to finish. If it's just one or two rooms, it'll be quicker, but don't expect miracles overnight. Good work just takes time.
What to Expect During the Process
Let's be blunt: it's going to be messy and disruptive. Drywall dust is incredibly fine and gets everywhere. Even with the best prep, you'll find some. Your contractor should seal off rooms with plastic sheeting and use dust containment systems, but it's still a construction zone. You'll want to move valuables, electronics, and anything you don't want covered in dust. If you have pets, consider boarding them or keeping them in an area far from the work. The noise from scraping and sanding can also be pretty significant.
If your home was built before 1978, there's a chance your popcorn ceiling contains asbestos. A reputable contractor will insist on testing before starting any work. If it tests positive, you'll need to bring in an abatement specialist. Don't mess around with asbestos; it's a serious health hazard. We always recommend testing, especially in older Boise Bench homes.
How to Prepare Your Home
You can make things a lot smoother for yourself and your crew by doing some prep work ahead of time:
- Clear the Room: Move out all furniture, wall hangings, curtains, and anything else you can. If large items can't be moved, push them to the center of the room and cover them with plastic sheeting.
- Remove Breakables: Take down light fixtures, ceiling fans, and smoke detectors. Label the wires if you're not confident remembering where they go.
- Protect Floors: Your contractor will lay down drop cloths, sure, but putting down some old sheets or additional plastic yourself can add an extra layer of protection, especially on carpet.
- Turn Off HVAC: Turn off your heating or AC system to stop dust from circulating through your vents. You might even want to cover the vents with plastic.
- Plan for Disruption: Think about where you'll eat, sleep, and relax if the work is happening in main living areas. It might be a good time for a short trip or to stay with family.
The more you clear out, the faster and cleaner the job will be. Trust me, we appreciate it when homeowners do their part.
Questions to Ask Before Signing a Contract
Picking the right contractor is key. Don't just go with the cheapest bid. Ask these questions:
- Are you licensed and insured? Always ask for proof. This protects you if something goes wrong.
- What's your process for dust containment and cleanup? Get specifics. How will they seal off areas? What kind of vacuums will they use?
- Will you test for asbestos? If your home is older, this is non-negotiable.
- What kind of finish will the ceiling have? Will it be perfectly smooth, or will there be a slight texture? Make sure your expectations match.
- How many coats of skim coat and primer will you apply? Two coats of skim and one good primer coat are usually standard for a quality finish.
- What's included in the price? Does it cover moving furniture, light fixture removal/reinstallation, priming, and painting? Get a detailed breakdown.
- What's your warranty on the work? A good contractor stands behind their work.
- Can you provide references? And actually call them. Ask about communication, timeliness, and how they handled any issues.
At Boise Drywall Company, we walk you through all of this. We want you to be happy with the process and, more importantly, thrilled with your new, smooth ceilings. It's a big project, but with good planning and the right crew, it's definitely worth it.