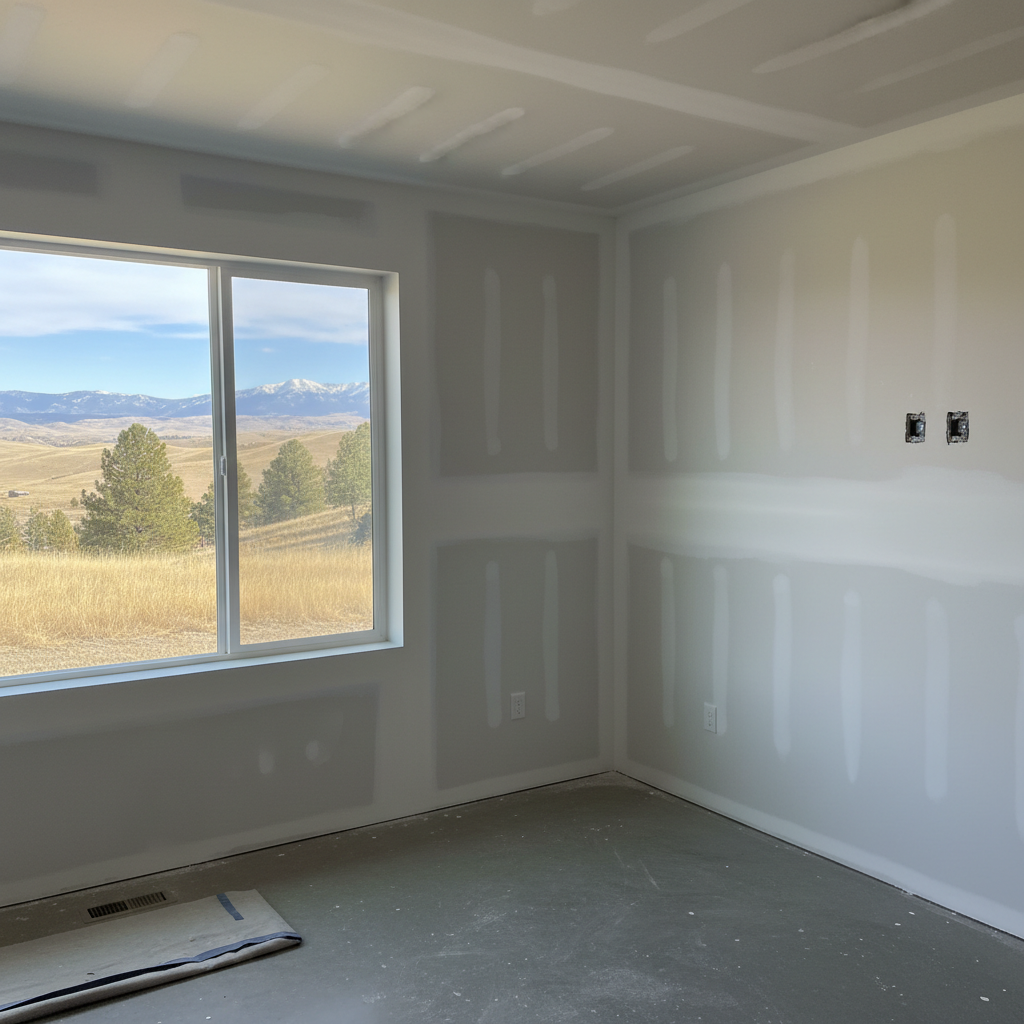
So, you've decided it's time to tackle that drywall project. Maybe it's a new addition, or you're finishing the basement, or just patching up some old walls. That's fantastic! Drywall finishing, you know, it's one of those things that truly makes or breaks how a room looks. But, I've seen a lot of folks right here in Boise make some pretty common mistakes. Honestly, they end up costing way more time, money, and headaches than they should. As a local contractor with Boise Drywall Company, I'm here to give you the lowdown on what to watch out for.
Not Checking Out Your Contractor Properly
This is probably the biggest one, and it's not just for drywall work; it applies to any trade, really. People get a few bids, pick the cheapest one, and then later they're scratching their heads wondering why their walls look like a roller coaster. You wouldn't buy the cheapest car without checking reviews, would you? It's the same idea when someone's working on your home.
- No License or Insurance: This isn't something you can compromise on. If they're not licensed and insured, you're taking a huge gamble. If someone gets hurt on your property, or if they mess up your house, you could be stuck with the bill. Ask for proof, and actually check that it's valid.
- Skipping References: A good contractor will have references ready for you. Call them up. Ask about how they communicated, if they showed up on time, the quality of their work, and if they cleaned up when they were done. Don't just take their word for it.
- Vague Bids: If a bid is just a single number scrawled on a napkin, that's a big red flag. A proper bid should spell out the whole job: what work they'll do, what materials are included (like specific types of mud or primer), timelines, and how payments will be handled. You need to know exactly what you're paying for.
I've seen projects in the North End where homeowners thought they were getting a steal. Then, they found out the crew vanished halfway through, leaving them with a half-finished job and a huge mess to clean up. Do your homework, people. It really pays off.
Underestimating How Important Prep Work Is
Drywall finishing isn't just about slapping mud on the wall, you know. The final finish's quality depends a lot on the prep work. This covers everything from the framing behind the drywall to how the sheets are hung. If the drywall sheets aren't put up right — if they're not flush, or if there are too many gaps — no amount of mudding will ever make it look perfect.
Just think about it: if your foundation is shaky, the whole house is going to have problems. It's the same principle here. Make sure the sheets are screwed in properly, that corners are protected with good corner bead, and that any existing surfaces are clean and ready for new material. Skipping these steps means you'll use more material, pay for more labor, and end up with a less durable finish down the road. What a headache!
Ignoring Humidity and Temperature
Boise's climate can get pretty dry, especially in the summer, but we also get our share of humidity swings. This really matters for drywall. Mud needs to dry correctly to cure and harden right. If it dries too fast, it can crack or get brittle. If it dries too slow, it can take forever and cause other issues too.
I always tell folks to keep the work area's temperature and humidity consistent. That usually means keeping the house between 60-75°F and not letting the humidity get too low or too high. Don't crank the heat or AC to extremes trying to speed things up; it'll backfire, trust me. Good ventilation is key, but you don't want a hurricane blowing through either. It's all about finding that balance.
Not Understanding Different Levels of Finish
This is a big one for managing expectations. Not all drywall finishes are created equal, and they're priced differently for a reason. There are industry standards, usually called 'Levels of Finish' (from Level 0 to Level 5).
- Level 0: Just the drywall sheets, no finishing at all.
- Level 1: Taped joints, but no mudding. Usually for attics or places you won't ever see.
- Level 2: Taped joints and one coat of mud. Good for garages or areas that will be covered by tile.
- Level 3: Taped joints and two coats of mud. This is usually the bare minimum for areas that will be textured.
- Level 4: Taped joints and three coats of mud, sanded smooth. This is the most common for painted surfaces with a light texture or flat paint. It's a good, solid finish.
- Level 5: Everything in Level 4, plus a skim coat over the entire surface. This is the highest quality, virtually blemish-free finish. It's perfect for dark paints, high-gloss paints, or areas with critical lighting (like big windows that show every tiny flaw).
If you're expecting a Level 5 finish but only paid for a Level 3, you're going to be disappointed. Make sure you and your contractor are on the same page about the level of finish you need for each area of your home. If you're going for a really smooth, modern look in your living room, you'll want Level 4 or 5. For a utility room, Level 3 might be perfectly fine, right?
Rushing the Drying and Curing Process
Patience truly is a virtue, especially with drywall mud. Each coat of mud needs enough time to dry and cure before the next one goes on, and before any sanding happens. Trying to speed this up — like with fans blowing right on the mud, or by putting on the next coat too soon — can cause all sorts of problems: cracking, bubbling, poor adhesion, and a weak finish.
I know you're excited to get your project done, but rushing this part will only lead to callbacks and frustration. A good contractor will build proper drying times into their schedule. It's not just about getting it done fast; it's about getting it done right so it actually lasts.
Ultimately, a successful drywall finishing project comes down to good planning, clear communication, and working with experienced professionals. Don't cut corners on these things, and you'll be much happier with the results.